How to manage multiple locations in IdoBooking and send customized directions?
Defining the location will allow you to display the address of the property in Booking Engine and send correct data along with personalized directions in e-mail notifications for guests.
In this article, you'll learn how to:
- add new locations,
- assign them to selected rooms/apartments, and,
- send different check-in instructions.
Step 1: Assign locations (address) to your properties
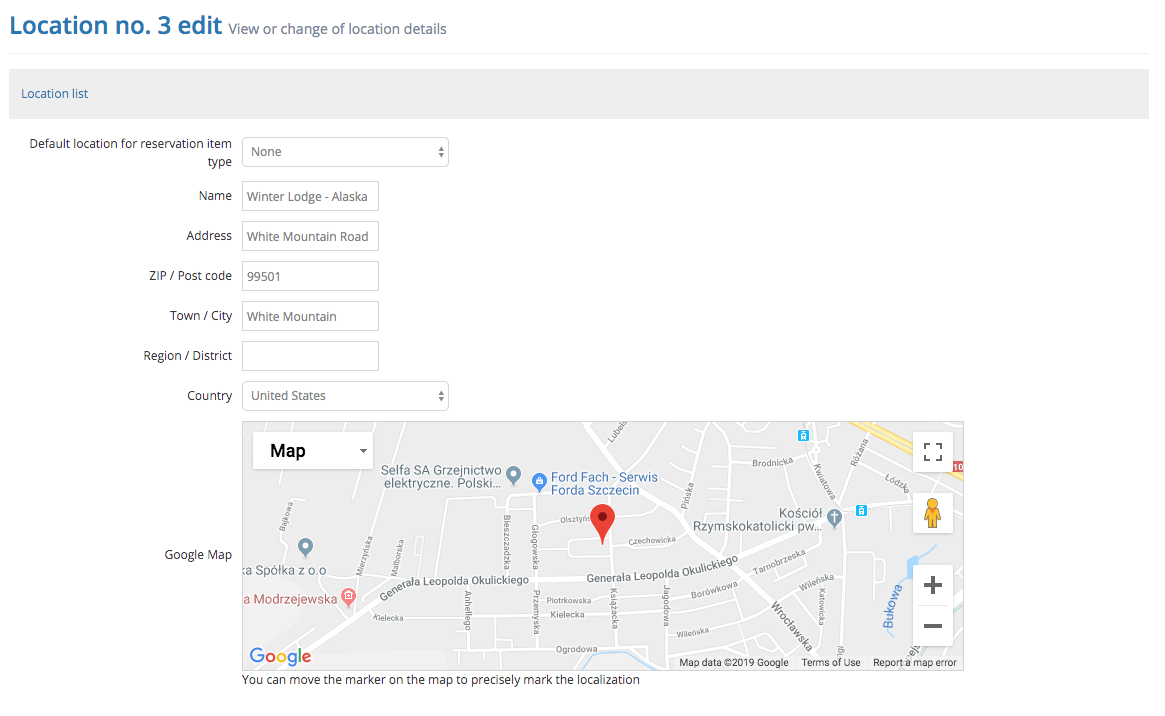
Go to ADMINISTRATION > Company details and policies and click on the button the Add new location.

If a given address is the same for all properties, add one location. This address will be automatically assigned to all rooms/apartments. If the addresses of your properties differ, they have different apartment numbers or other details, enter each address separately and assign. You'll be able to assign them later on when you proceed to the room set-up step.

Step 2: Assign locations to specific rooms
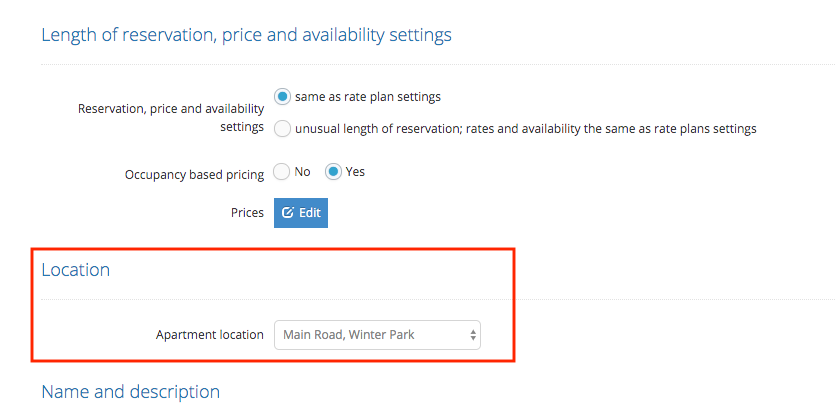
When the address is already on the list of available locations, the next step is to assign it to the room. Go to OFFER > Reservation items and click on the details of the chosen room. You can assign the address in the Location section.

Step 3: Add directions and check-in instructions
In the details of each location, in the Information for bookers section, there is a field for entering Directions. The content of the field is displayed in the following e-mail templates sent to clients:
- Confirmation of reservation (sent automatically when the service recognizes the payment)
- Reminder of the reservation starting tomorrow (sent automatically the day before the guest arrives)
- Email with the current reservation status (sent after clicking the button on a reservation card)
Directions displayed in the email templates are stored in a variable (iai: directions_information' ).
Step 4: Where are location information automatically visible?
Address will be visible:
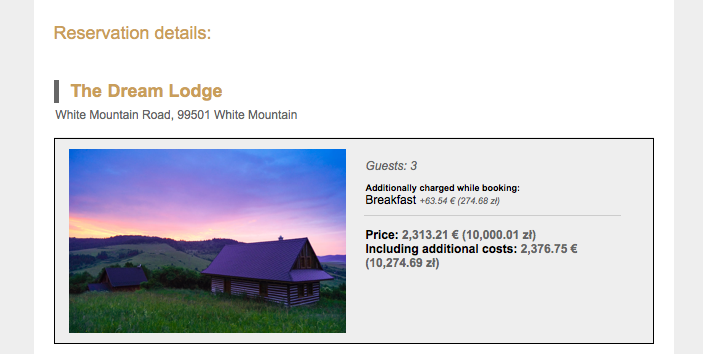
- on your IdoBooking website in the offer details
- in email notifications

What are the other uses of localizations?
- Personalized Booking Engine
You can generate a code to put on your own website or Facebook, which allows you to book accommodation in a given location.
- Different levels of access for users
You can limit panel users' rights to a given location.

